Table of Contents
MyCo TPS
- a very small computer which is programmed
via just 3 push buttons as KEYBOARD
and 4 LEDs as "DISPLAY"
and designed to control some INPUTS and OUTPUTS
- digital and analog  ======
This project has been worked on for a few years now, but MyCo / TPS has just gotten a Second Life, as Franzis just launched a new version - hardware is identical, but more programming examples https://www.franzis.de/maker/raspberry-pi-arduino-und-mehr/maker-kit-controller-board-selber-bauen-und-programmieren-machs-einfach-lernpaket.
===== AND the New Book is out now:
You can actually play with the 40 described examples
ON PAPER ONLY TO START WITH, to write and execute your own code as well,
Or use coins for program execution to see what happens internally
Or use pins for programming - no electronics at all ( and noForth for now )
for example use the 2 pages
- one with the program, one showing the current contents of all “function blocks”
https://www.amazon.co.uk/gp/product/B08MN15NMQ/ref=dbs_a_def_rwt_bibl_vppi_i21
==== And additional information regarding the 3rd book about MyCoTPS had to be stored somewhere, So I started a facebook group. Just go there, start at the bottom and see additional explanations and examples. Even doing the HELLO WORLD … Now this MyCoTPS is as well running on the microbit, and on the RPI soon . OK , these 2 not in Forth yet, but it is probably unavoidable https://www.facebook.com/groups/269499491046124 ====
Most of the German description should be covered by the Print book we had published in English: https://www.amazon.co.uk/gp/product/1731232535/ref=dbs_a_def_rwt_bibl_vppi_i28
We prepared a cut down version of the book as a PDF for download and print, you find it at http://www.elektronik-labor.de/Literatur/MyCo2014.pdf
and as well a cut down version of the extended Book for you download here.
And a selection of English documentation at http://www.elektronik-labor.de/Literatur/MyCo.html
We added into the extended book now the Forth Implementation that Michael Kalus kindly programmed for the TI MSP430:
My Computer – a small 4 Bit Controller simulated in Forth based on a MicroController Implementation.
“Programming a computer is hard, many think - wrong. Read the eBook, write down the programs, follow the editing process on a piece of paper - no PC required. The kit described in the book teaches programming in a minimal and simple way. No PC is required to handle the kit. There are only a few program statements that MyCo can execute. But that shows and demonstrates many aspects of programming. All programs for the easy-to-build hardware kit are documented and tested.” This sounded similar in the original kit “Programming microcontrollers” by Burkert Kainka in Franzis Verlag. You got a “universal control board with 25 components and manual” for the money.
The kit is based on a Holtek HT46F47 - a very low cost Controller. The manual was recently1) translated into English by Juergen Pintaske. And he called the kit now “MyCo” My Computer for the English-speaking area. The German name TPS - Tastenprogrammierbare Steuerung - did not translate well into English.
This MyCo functionality was transferred in 2015 into another MCU: the MSP430G2553 from Texas Instruments and this time in Forth. First using the professional VFX by MPE, Stephen Pelc. Then in an open source Forth, the 4e4th.
Some versions for people who want to look at the Forth code or even try it out
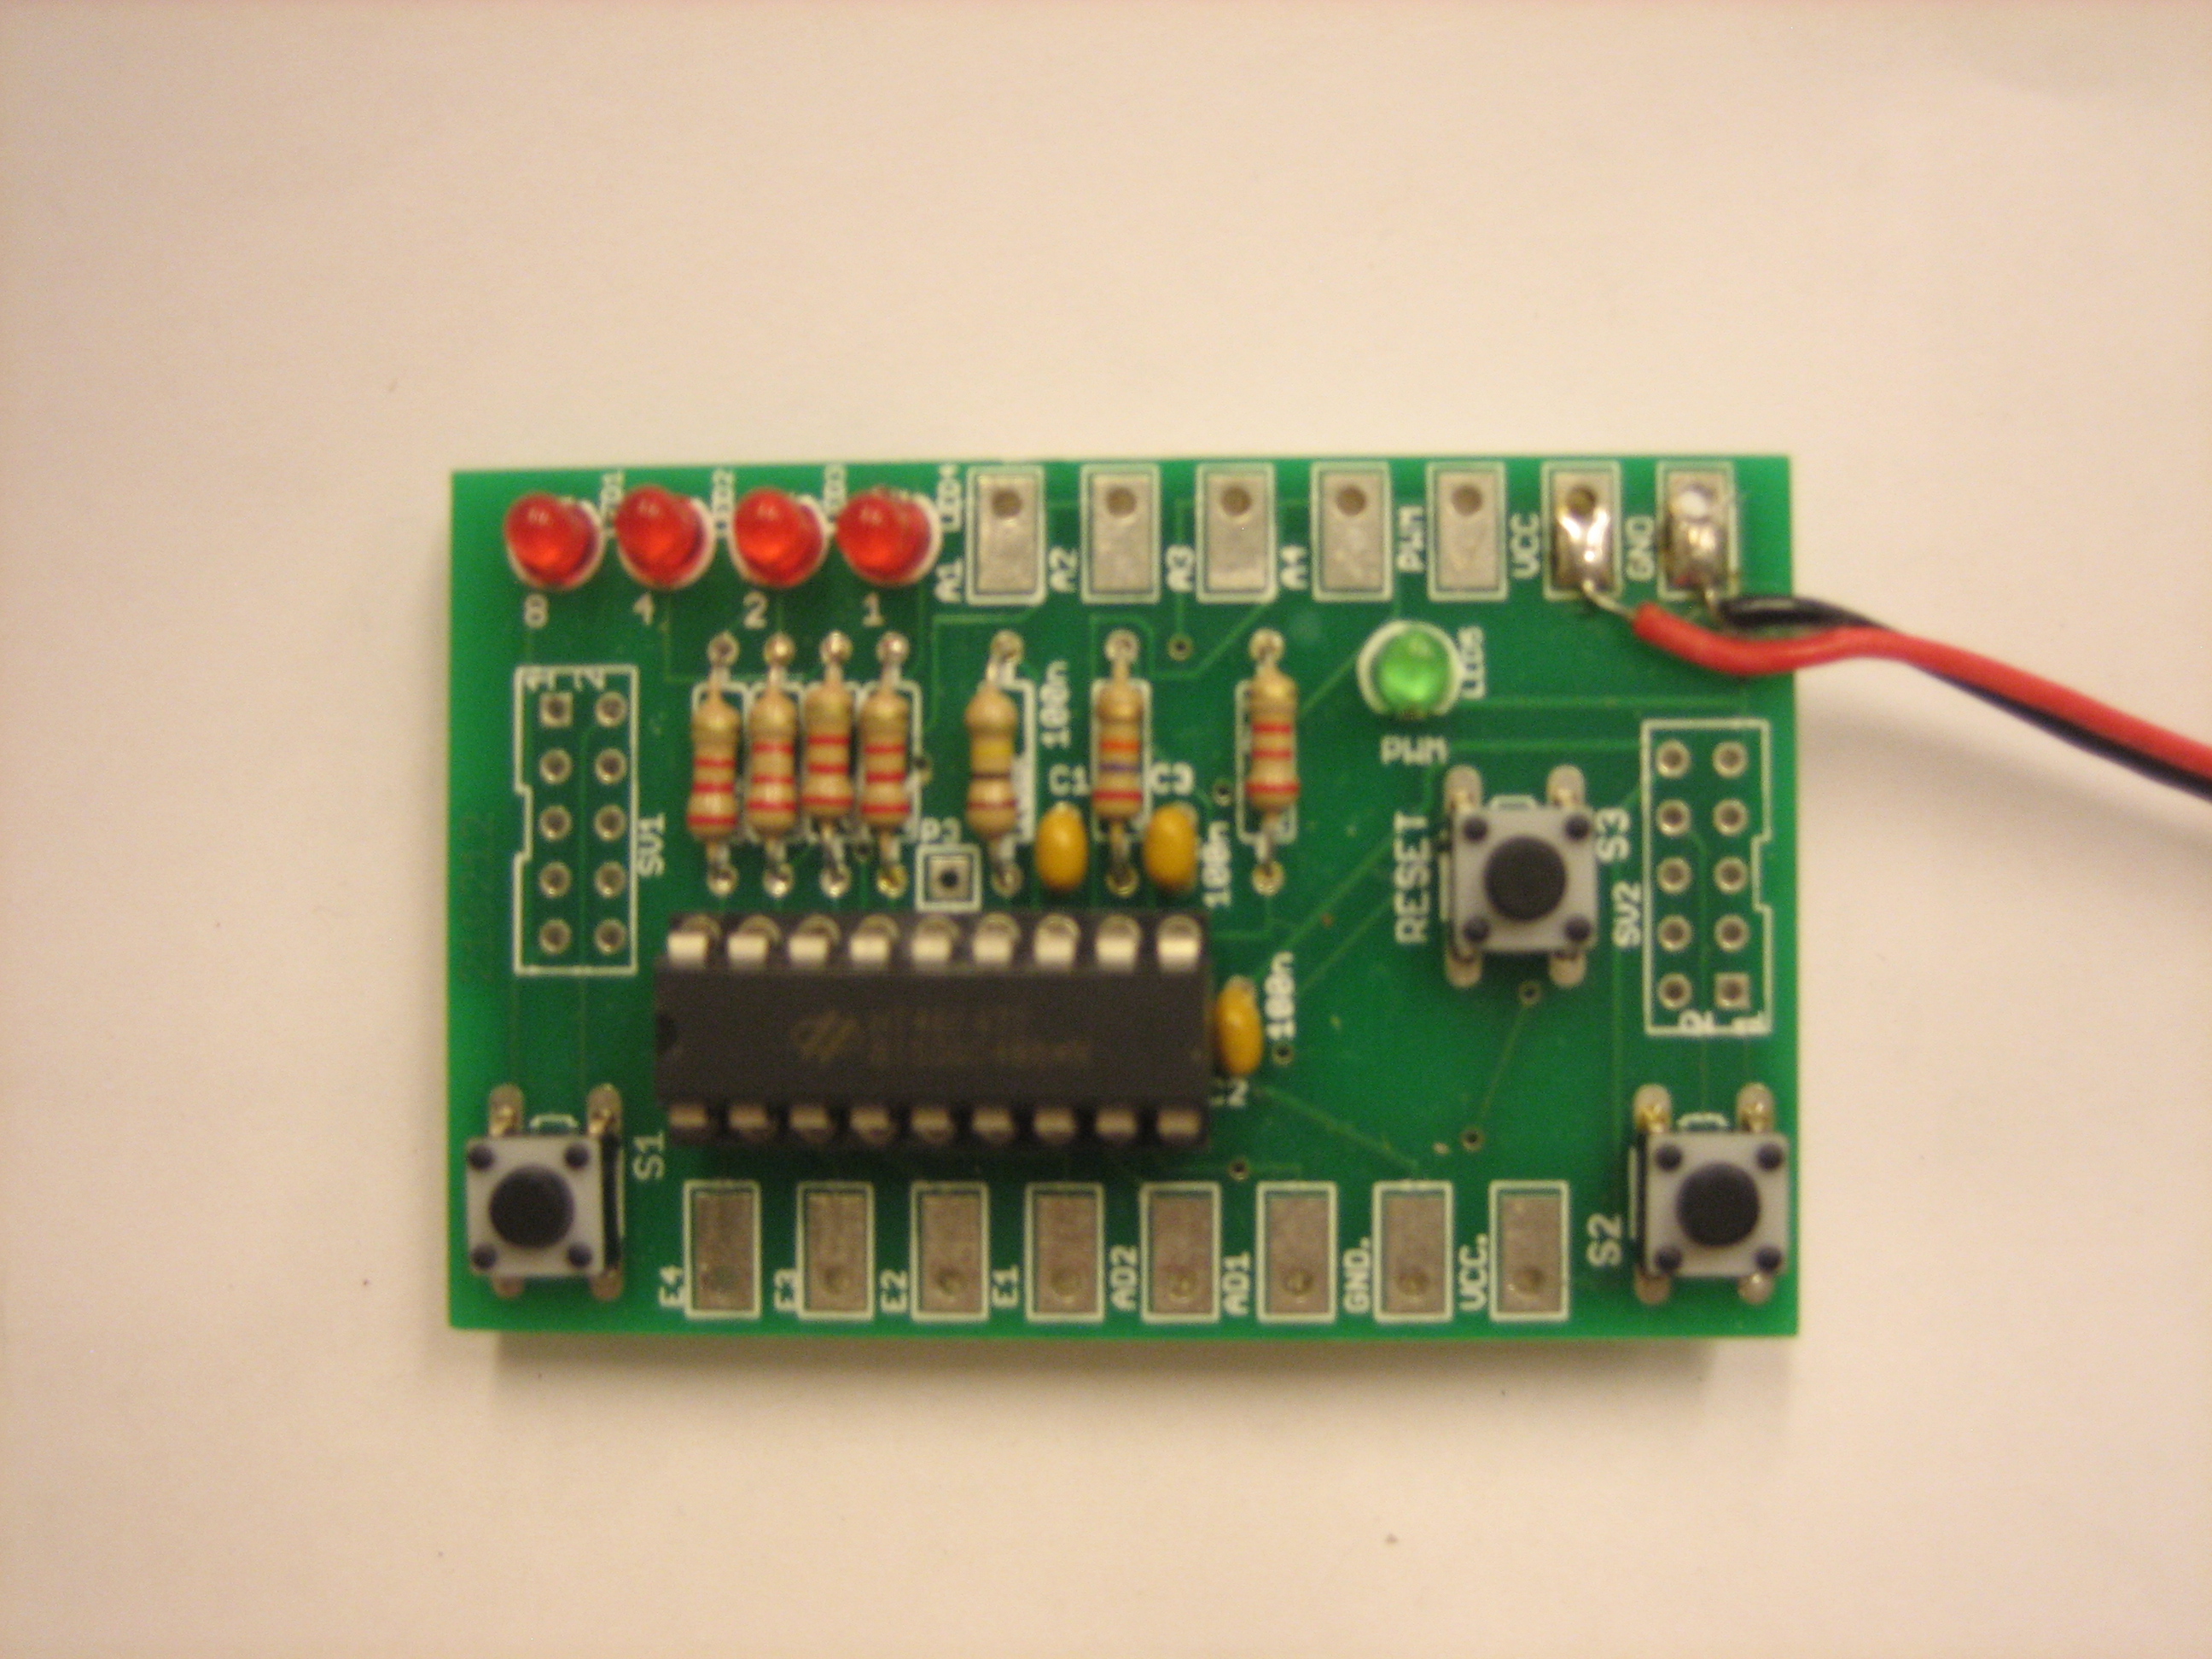
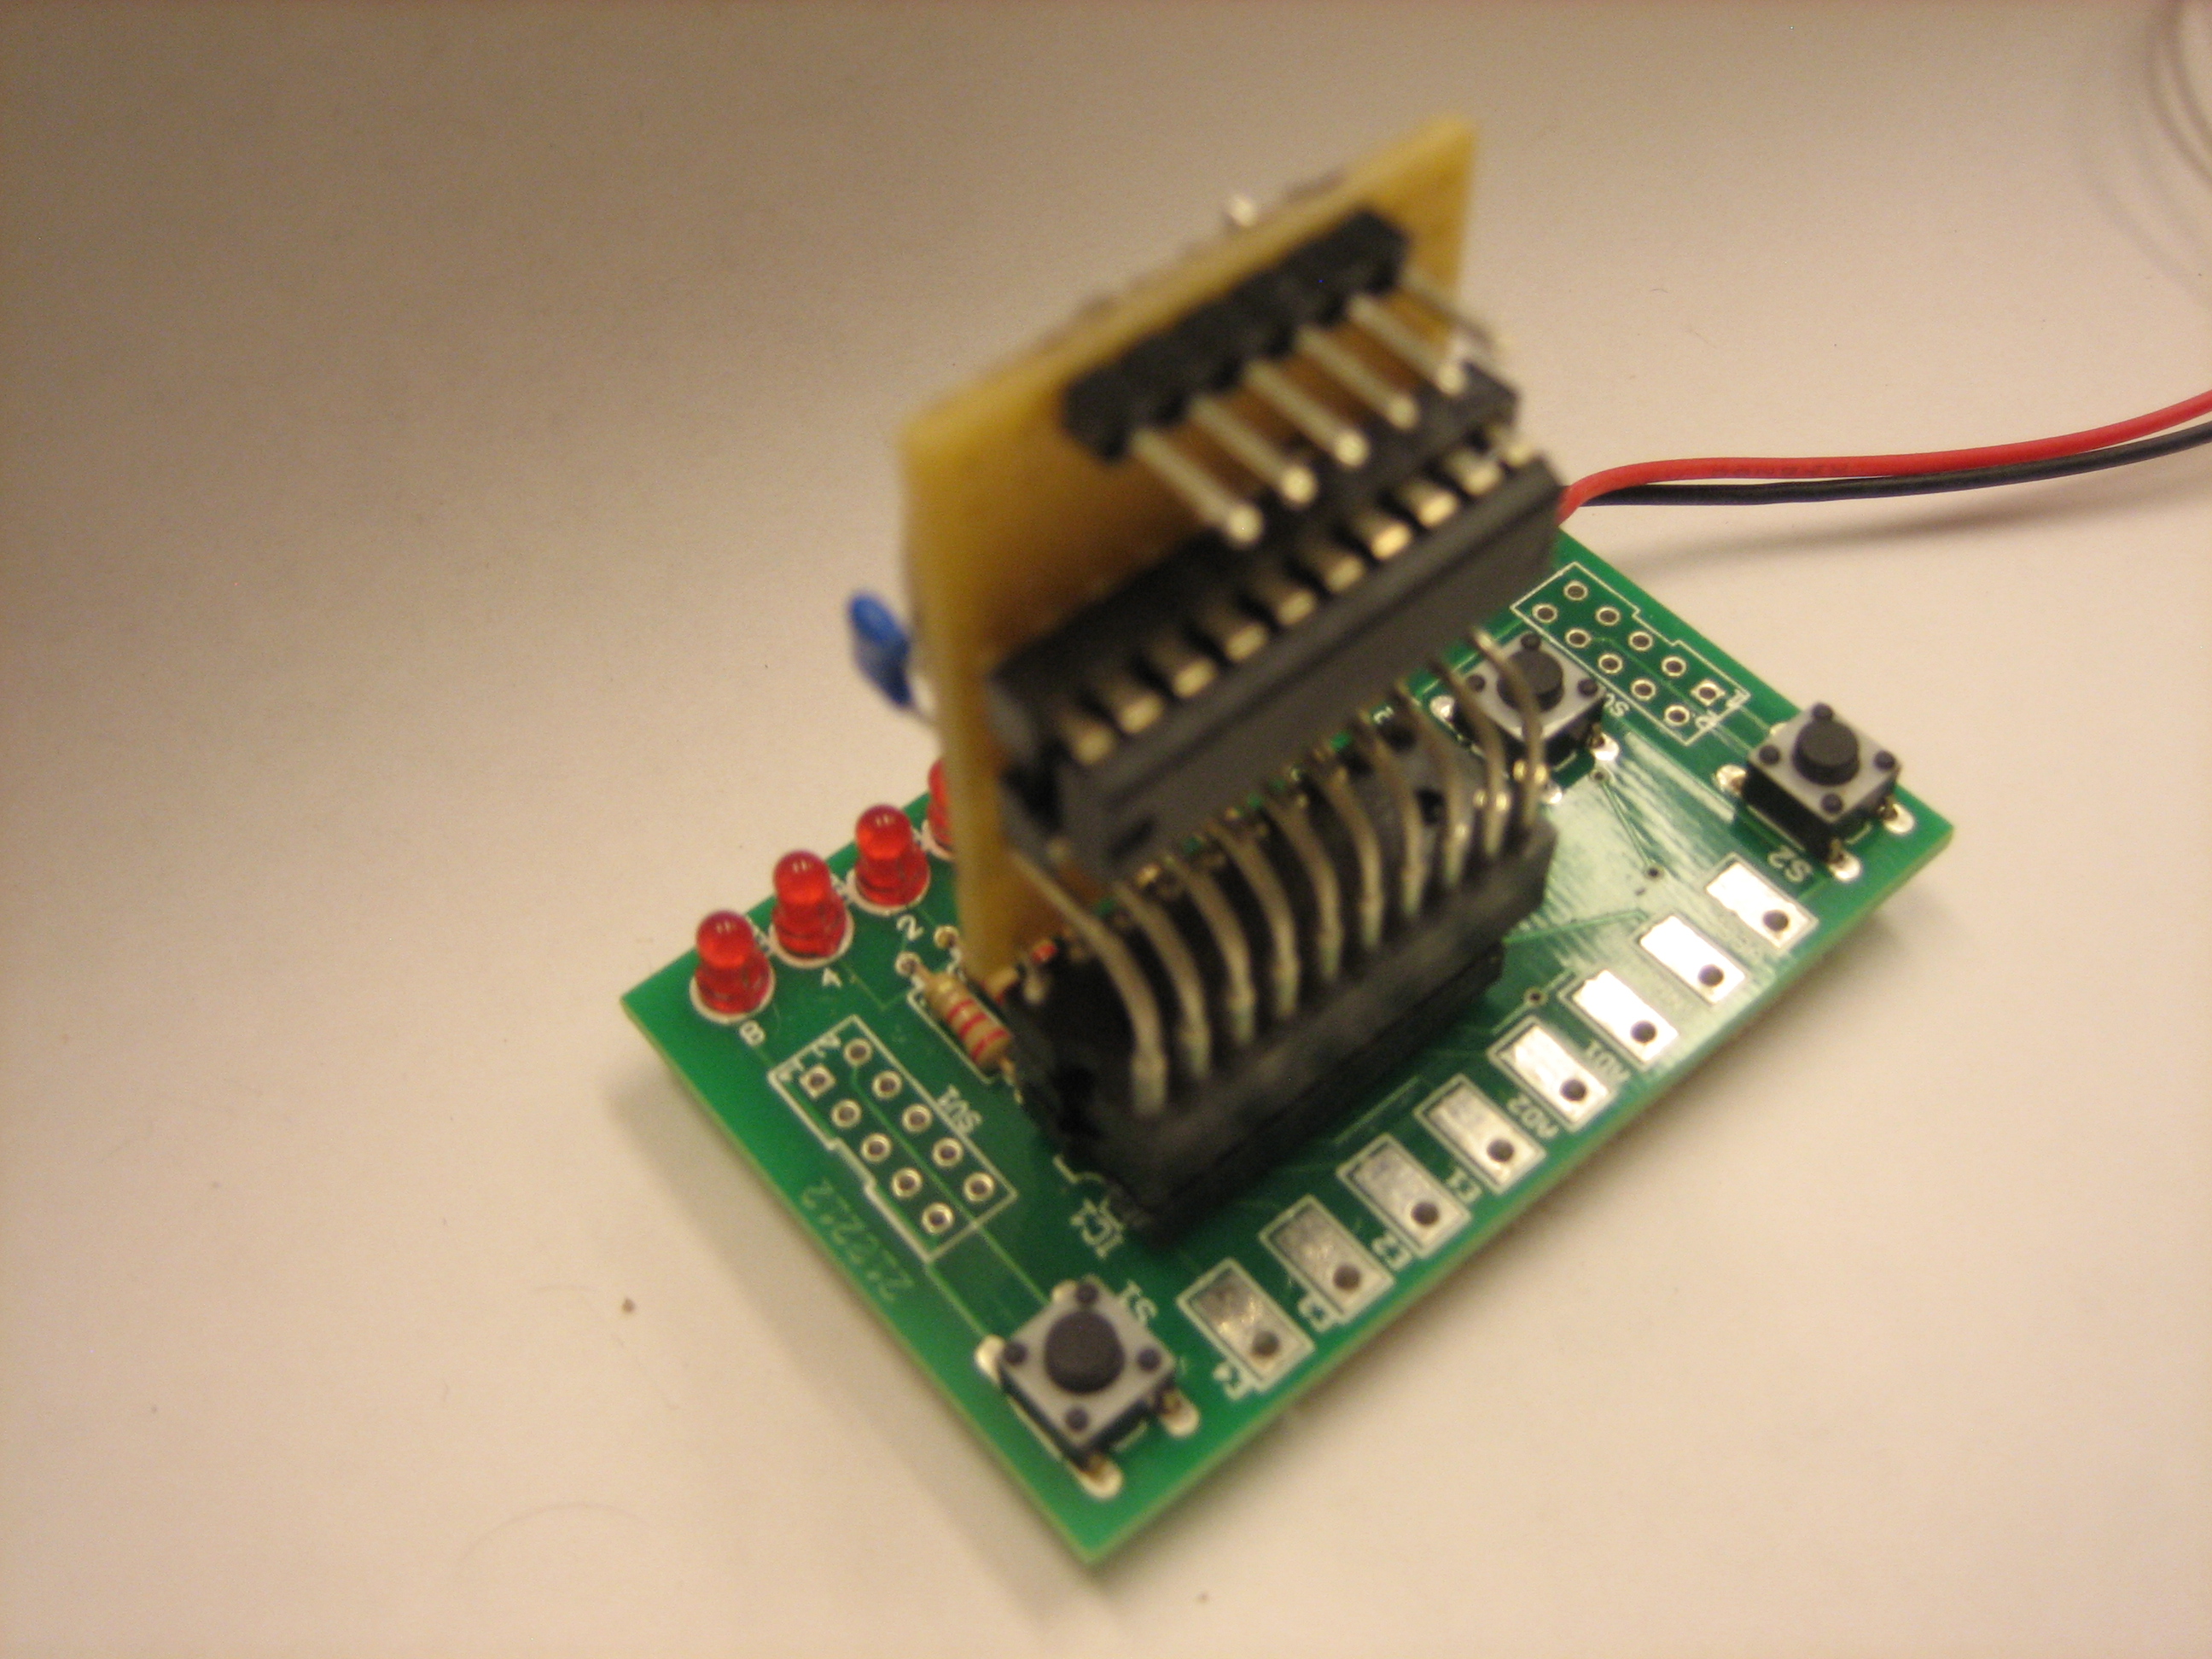
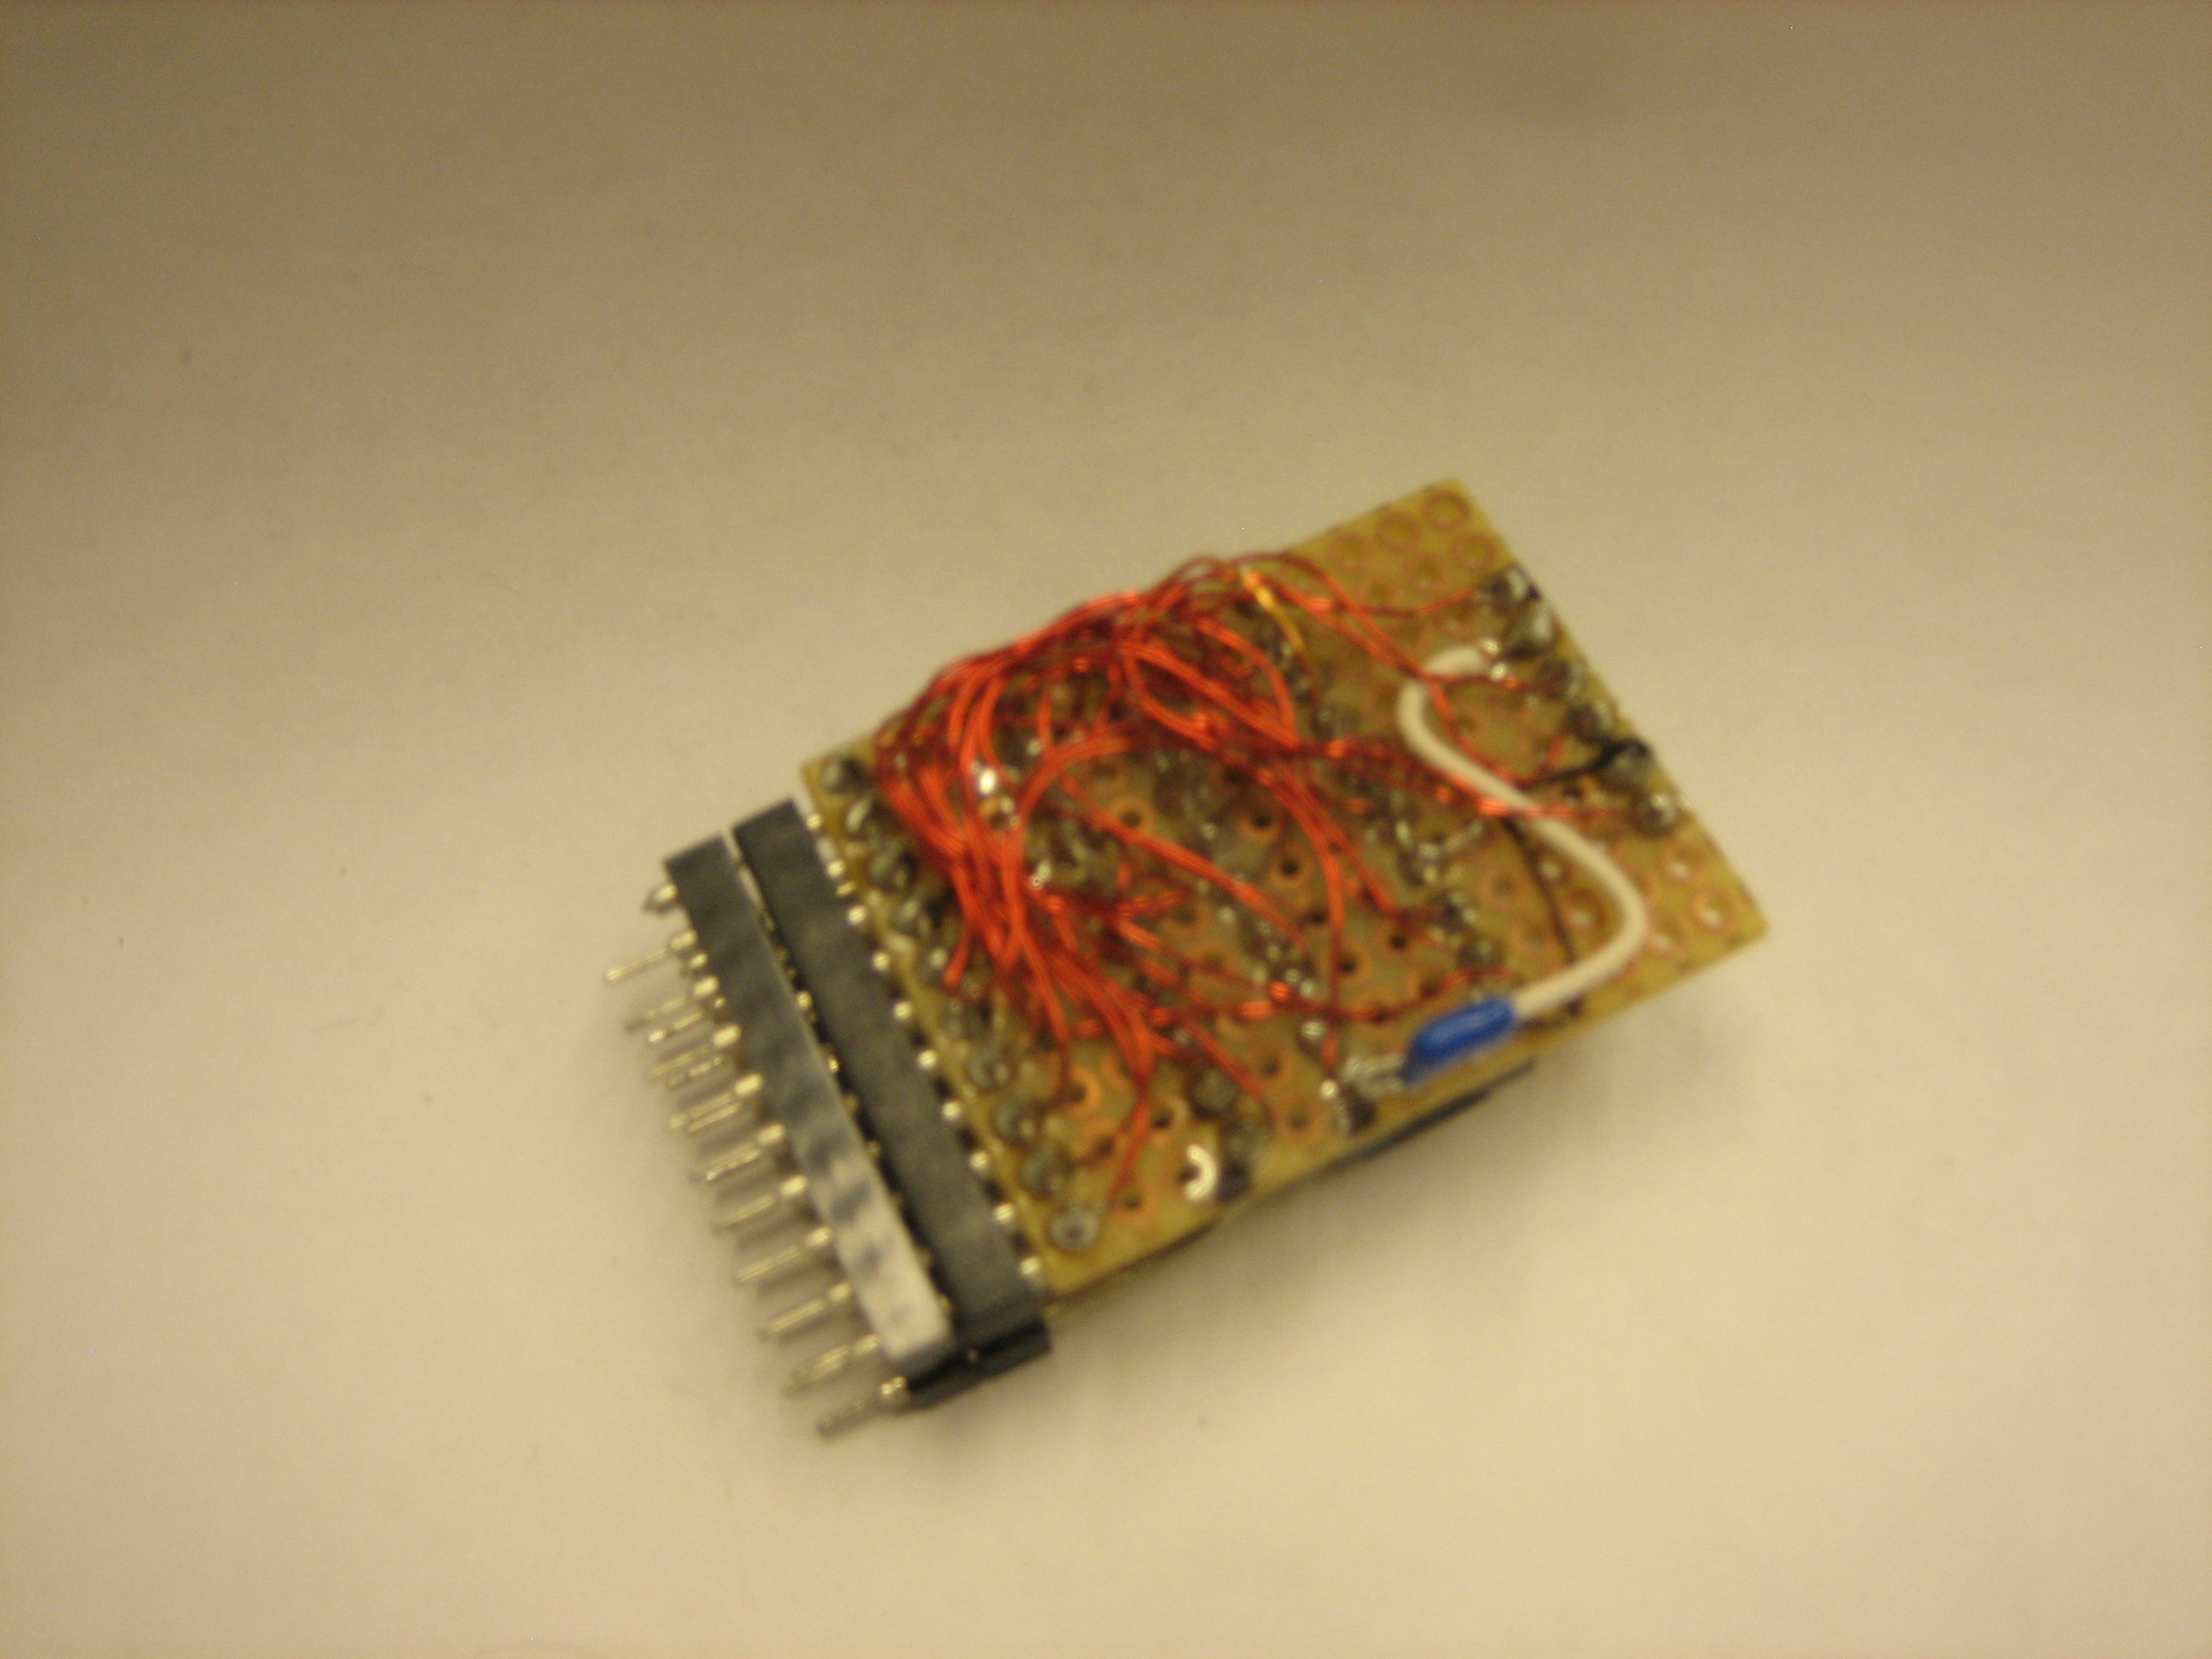
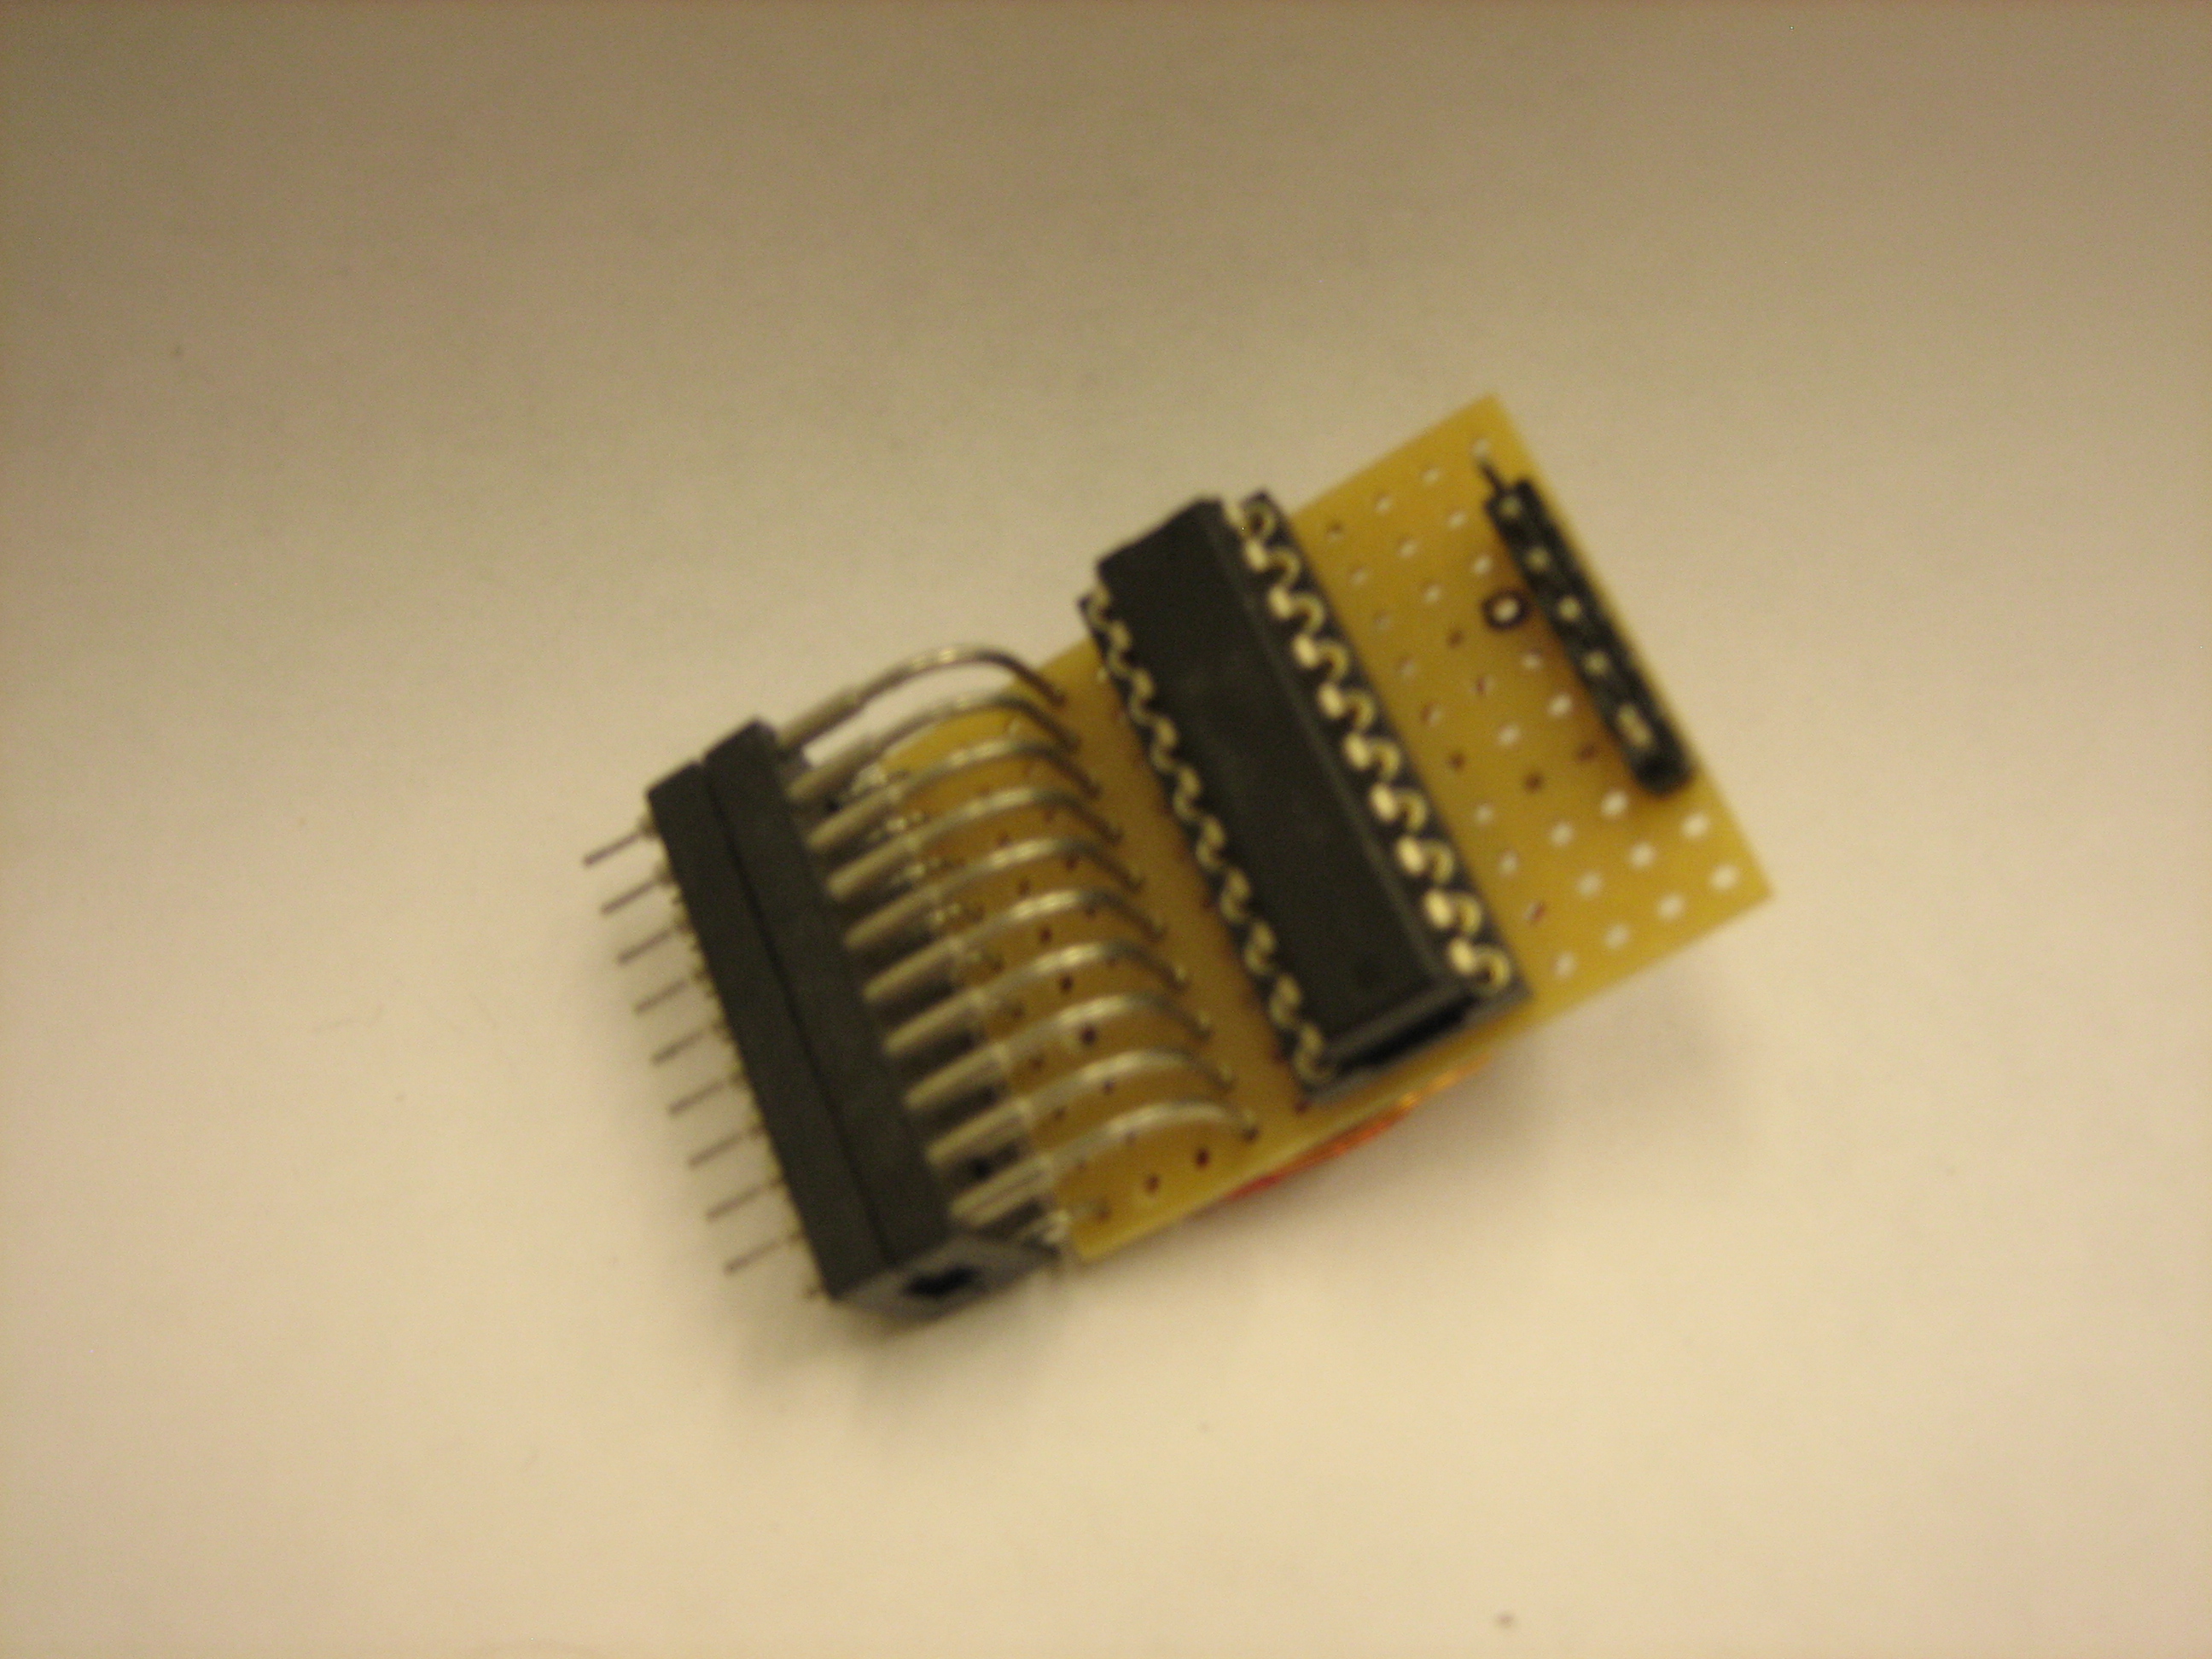
There are two hardware versions: On the one hand, the Franzis Kit (identical to the Conrad TPS Kit) and on the other side a separate solution by Juergen Pintaske, its MSP430 “base board”. The Franzis board got an adapter, so that you could put the MSP430G2553 in the socket, which was intended for the Holtek HT46F47. Juergen's base-board, on the other hand, was supplemented by an I/O header board, with the LEDs and buttons, to operate the MyCo and extend it.
The easy way to start with MyCo: You buy the kit and start.
The open source path is more difficult, but also manageable: You would also have to find a way to get the program into the MCU. How to do that is described below.
Gallery
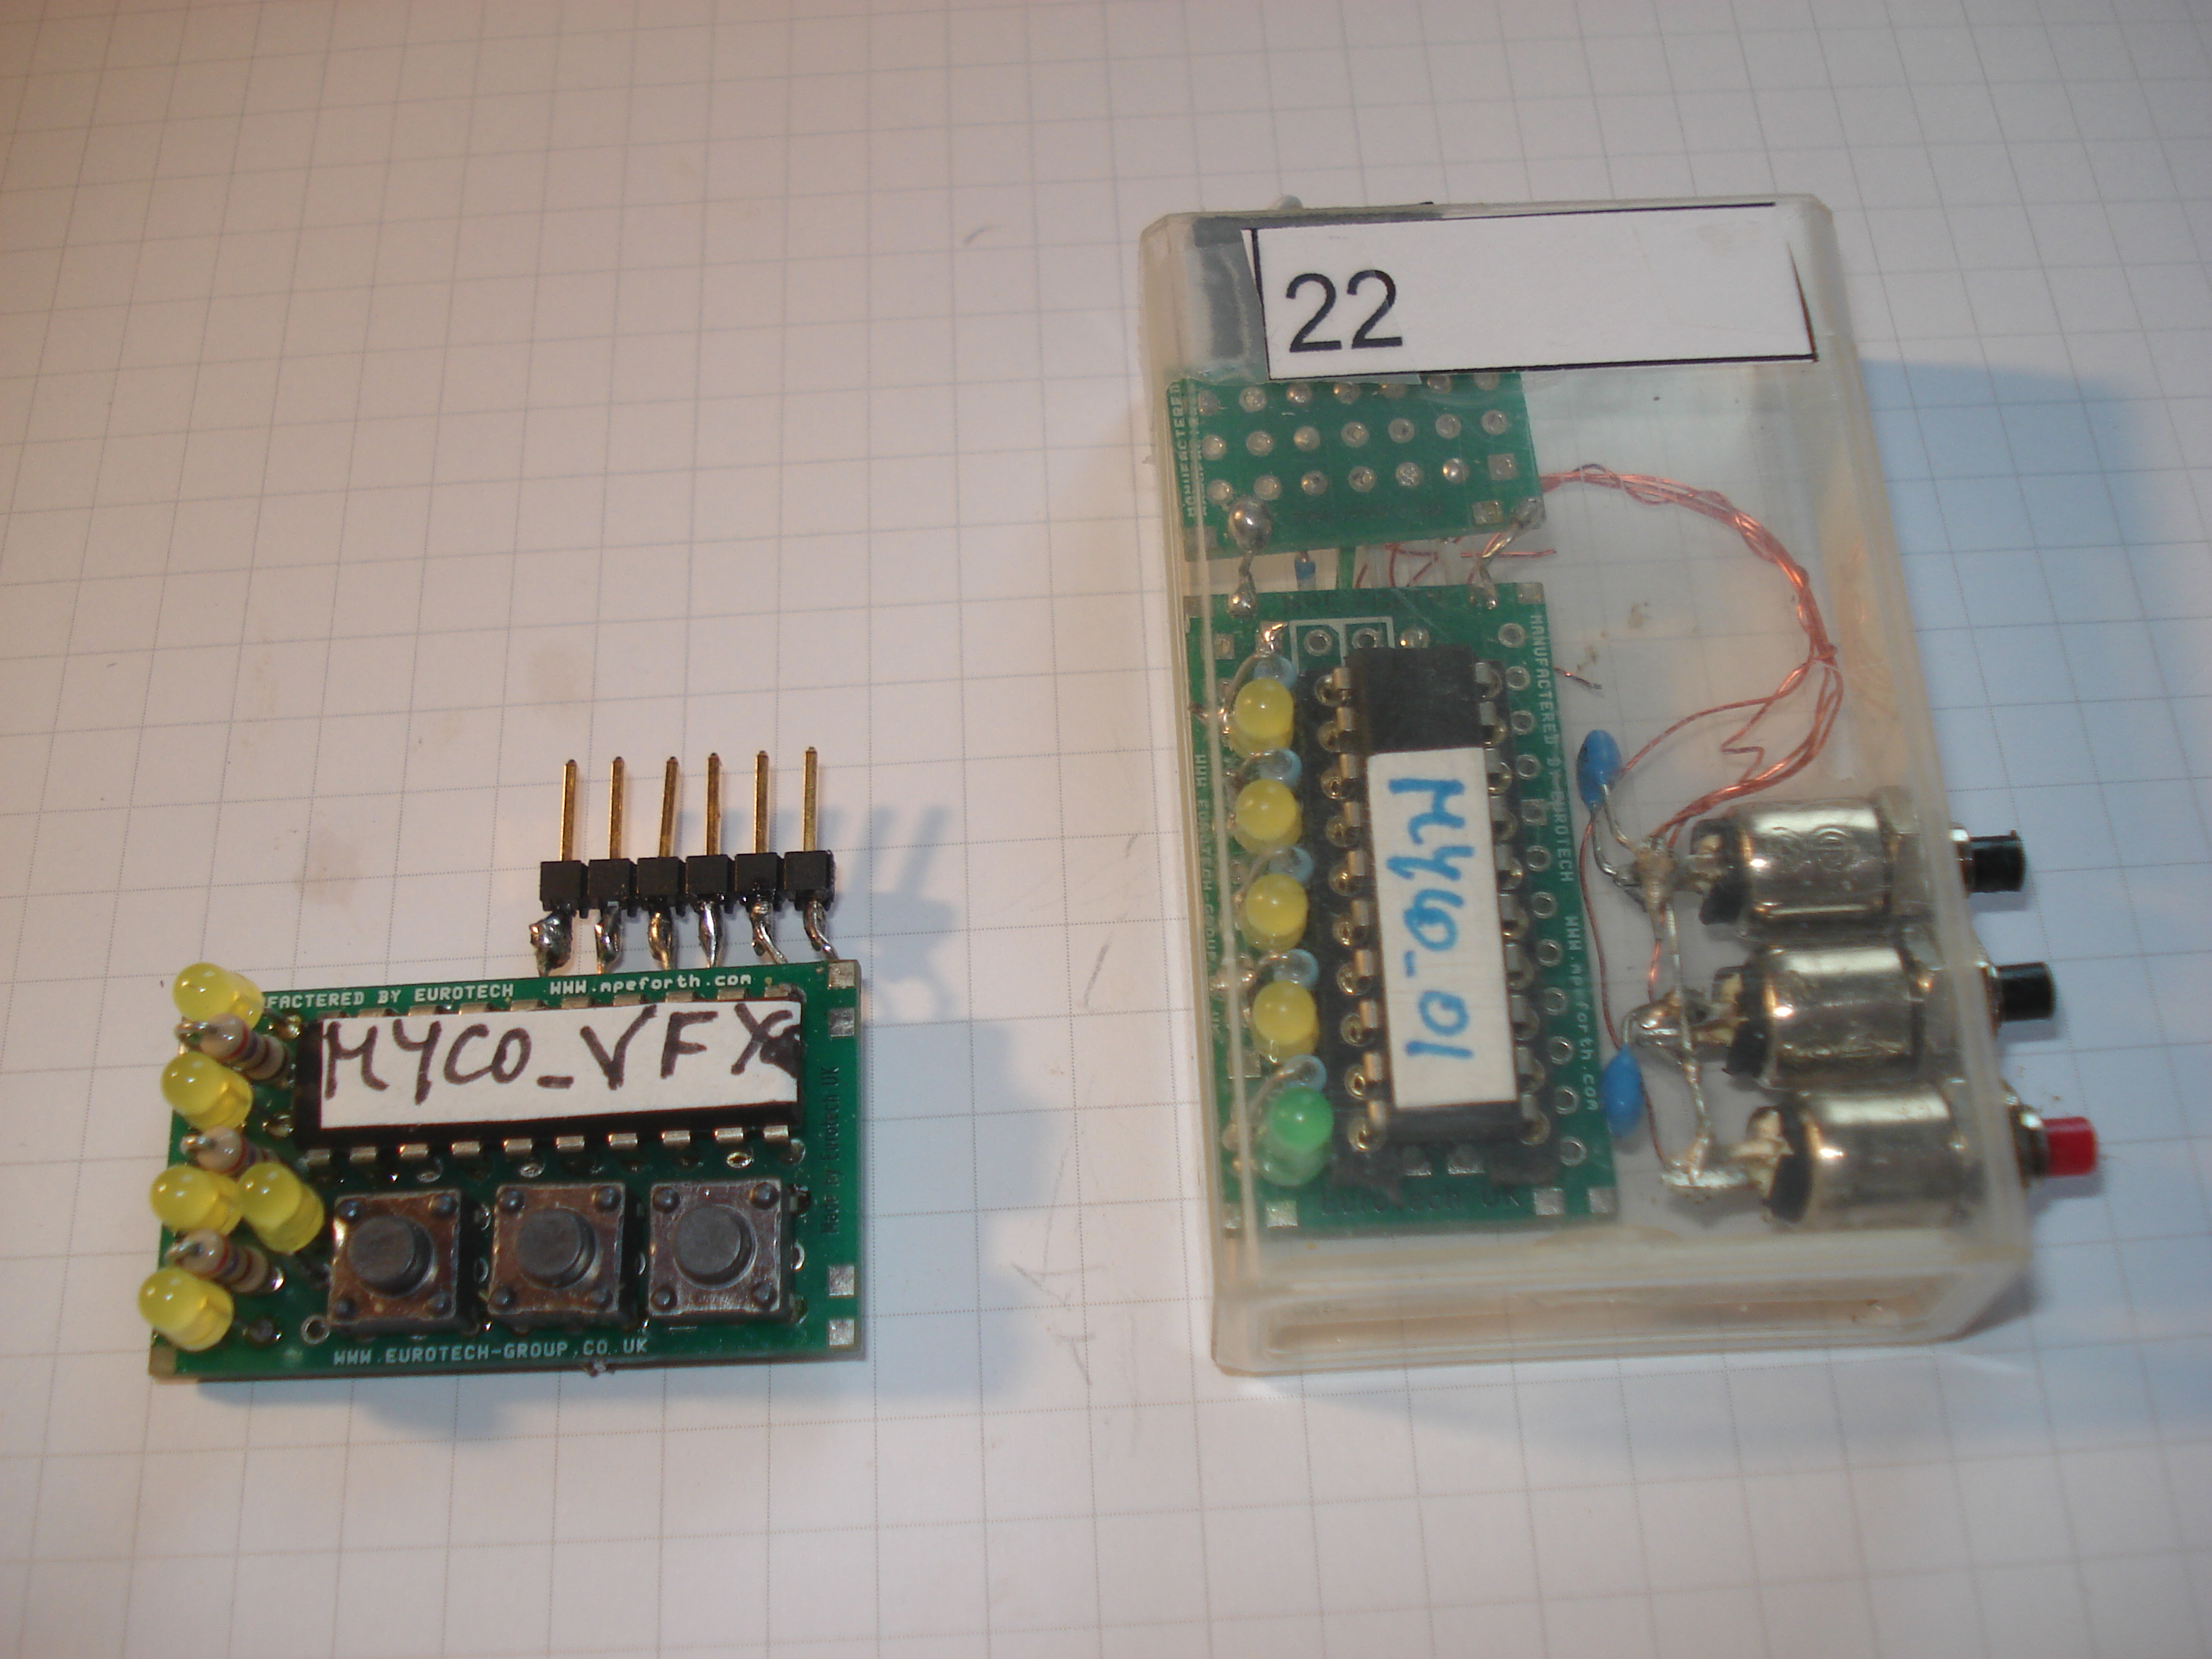
MyCo in MSP430G2553 - VFX version
MyCo in MSP430G2553 - 4e4th version
The 4e4th package contains the 4e4th source code of the MyCo and a short manual for the MyCo. You can use the detailed manual, unfortunately in German. Google translate should do the job.
The translated version is available as eBook.
And as printed Book as well now2)
This PDF is a shortened Version of the extended printed MyCo eBook – just the Forth part. Page numbers have shifted , but the links in the PDF work as expected.
And a shortened version at http://www.elektronik-labor.de/Literatur/MyCo.html
If you do not have a preprogrammed MCU, but you want to do it yourself, you need a programmer to load the Forth into the MCU. Instead of the pure 4e4th also a pre-programmed memory image (Image) of the MyCo can be loaded.
MyCo-Simulator
Wilfried Klaas has programmed a Simulator, so the programs can be entered there, and as well executed in this simulator:
TPS goes Arduino as well.
Click on de to get a drop down menu and change language to English.
The simulator generates the code for different platforms, now having been extended to additional functions even and with a direct interface to the Arduino.
The direct interface to the Forth version should be available soon – but the few bytes can be as well entered via a terminal, or even the switches without PC.
MyCo-Kit
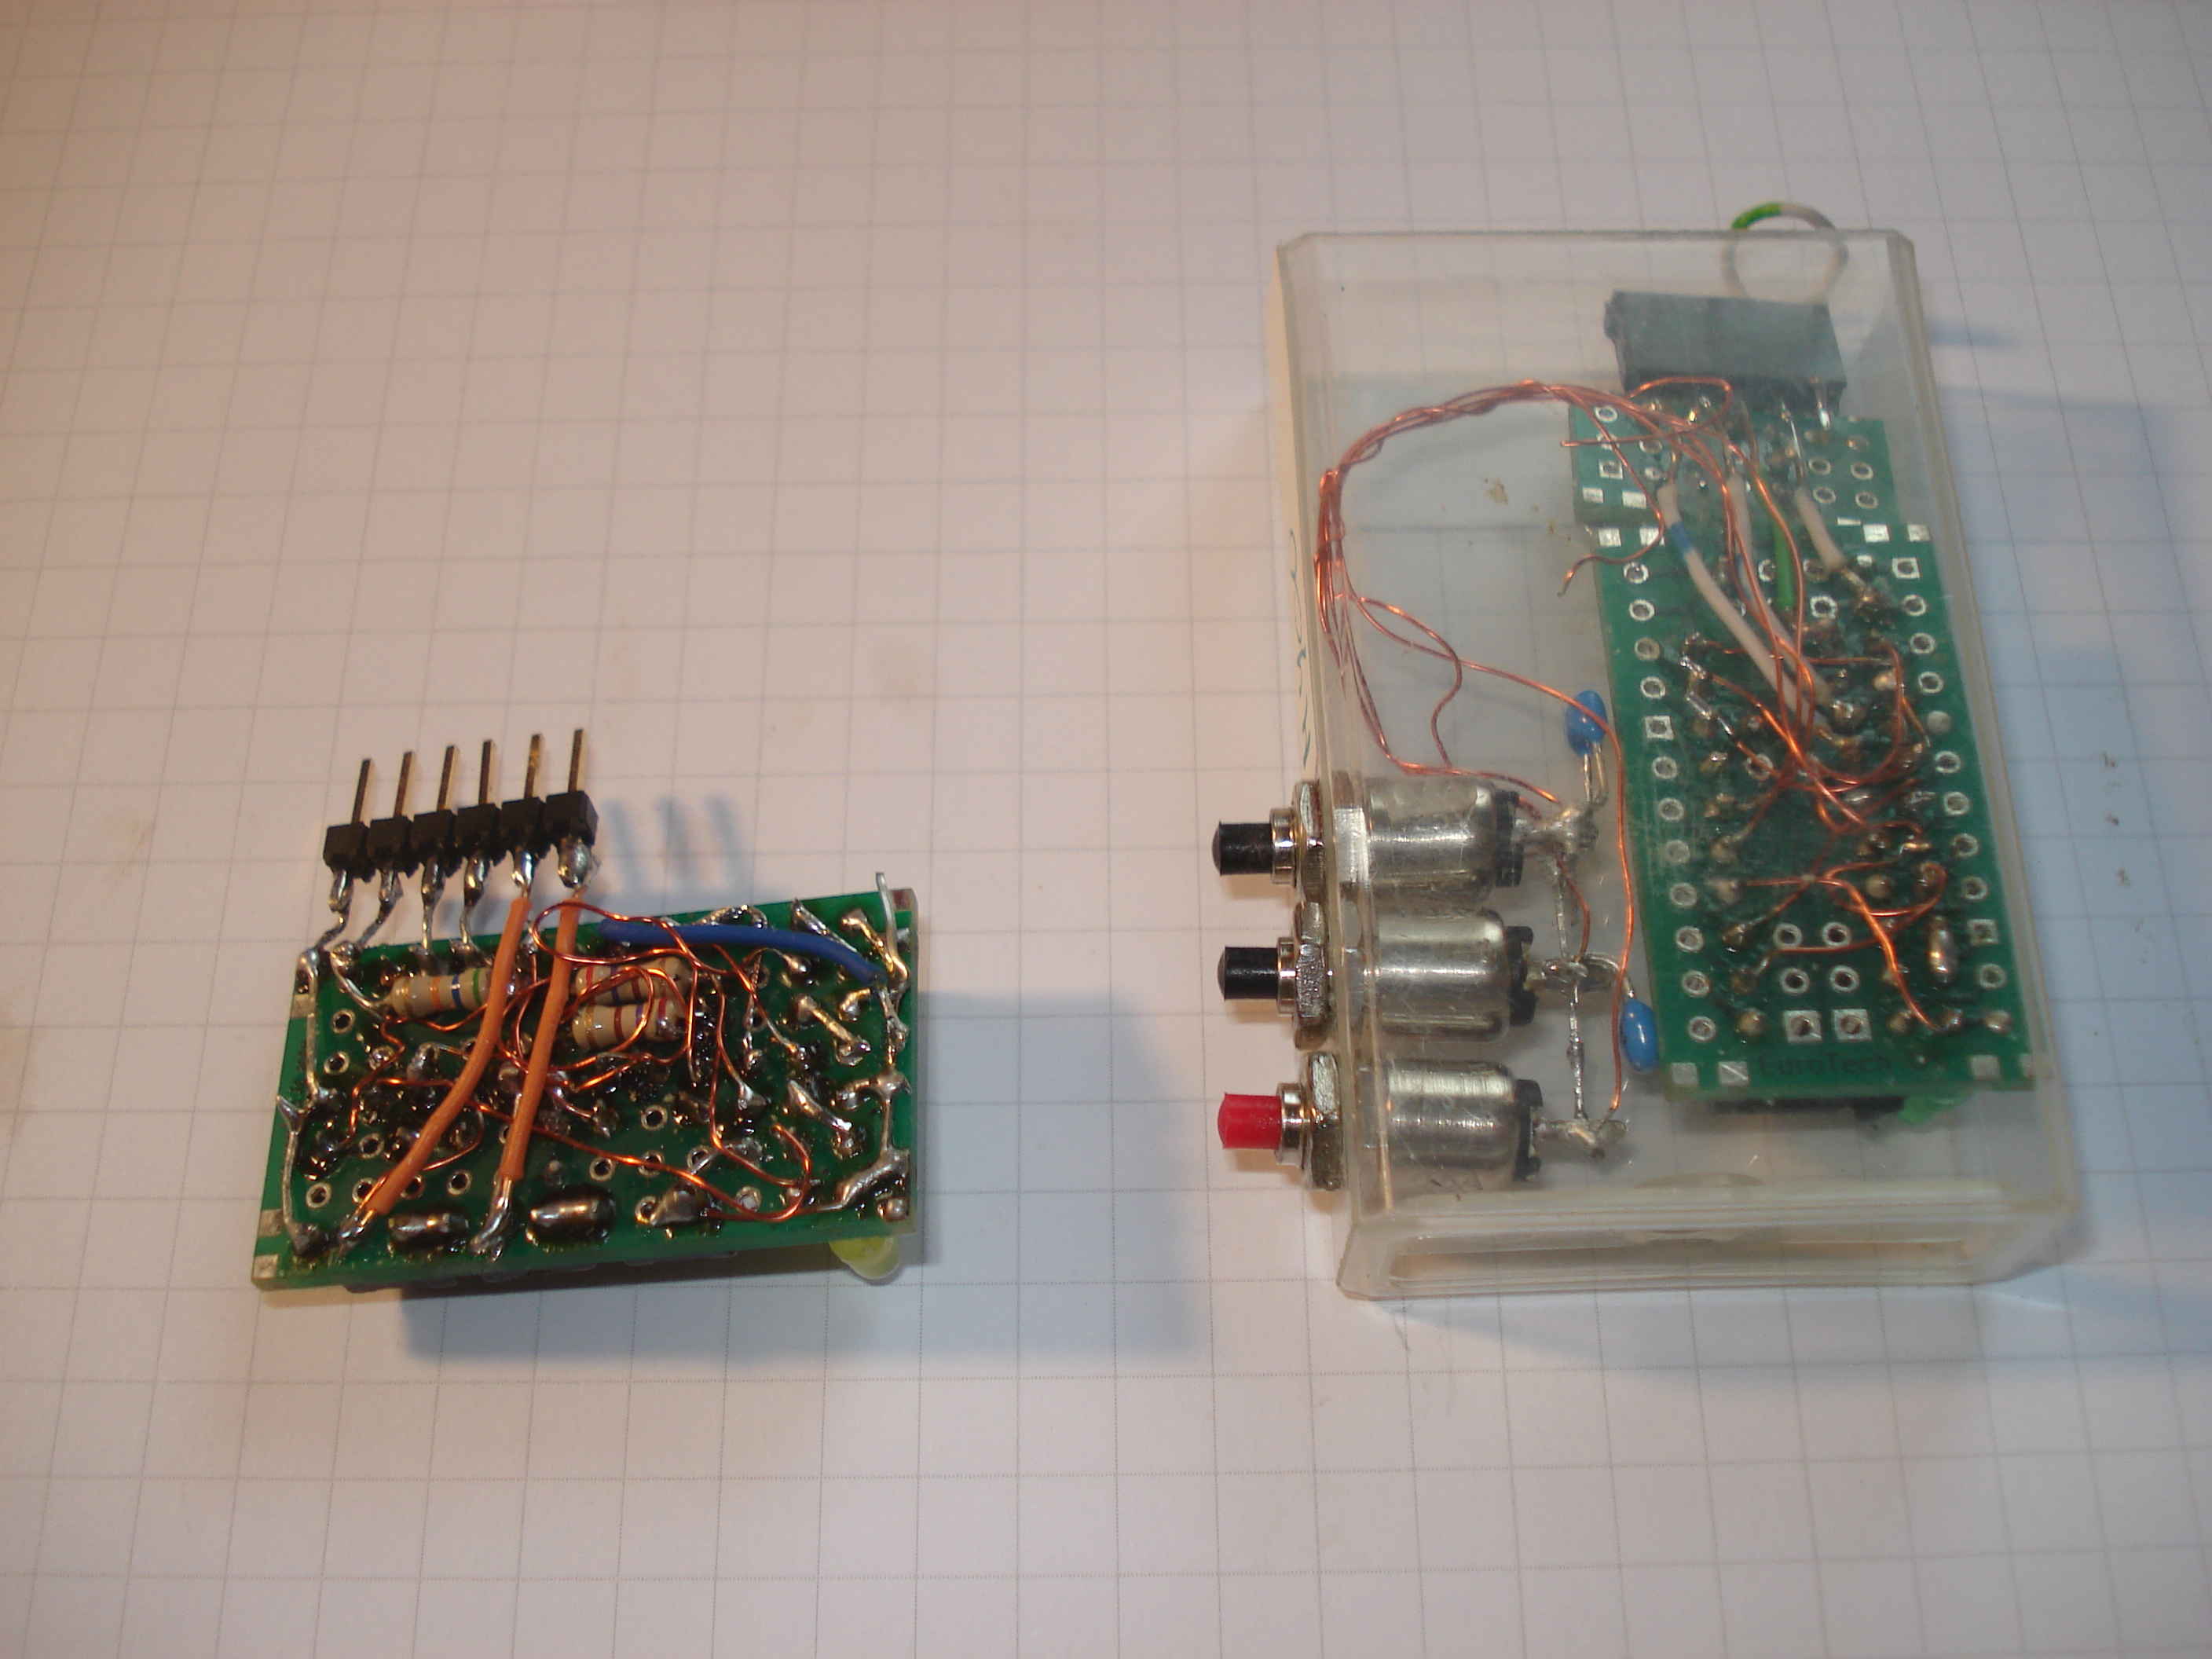
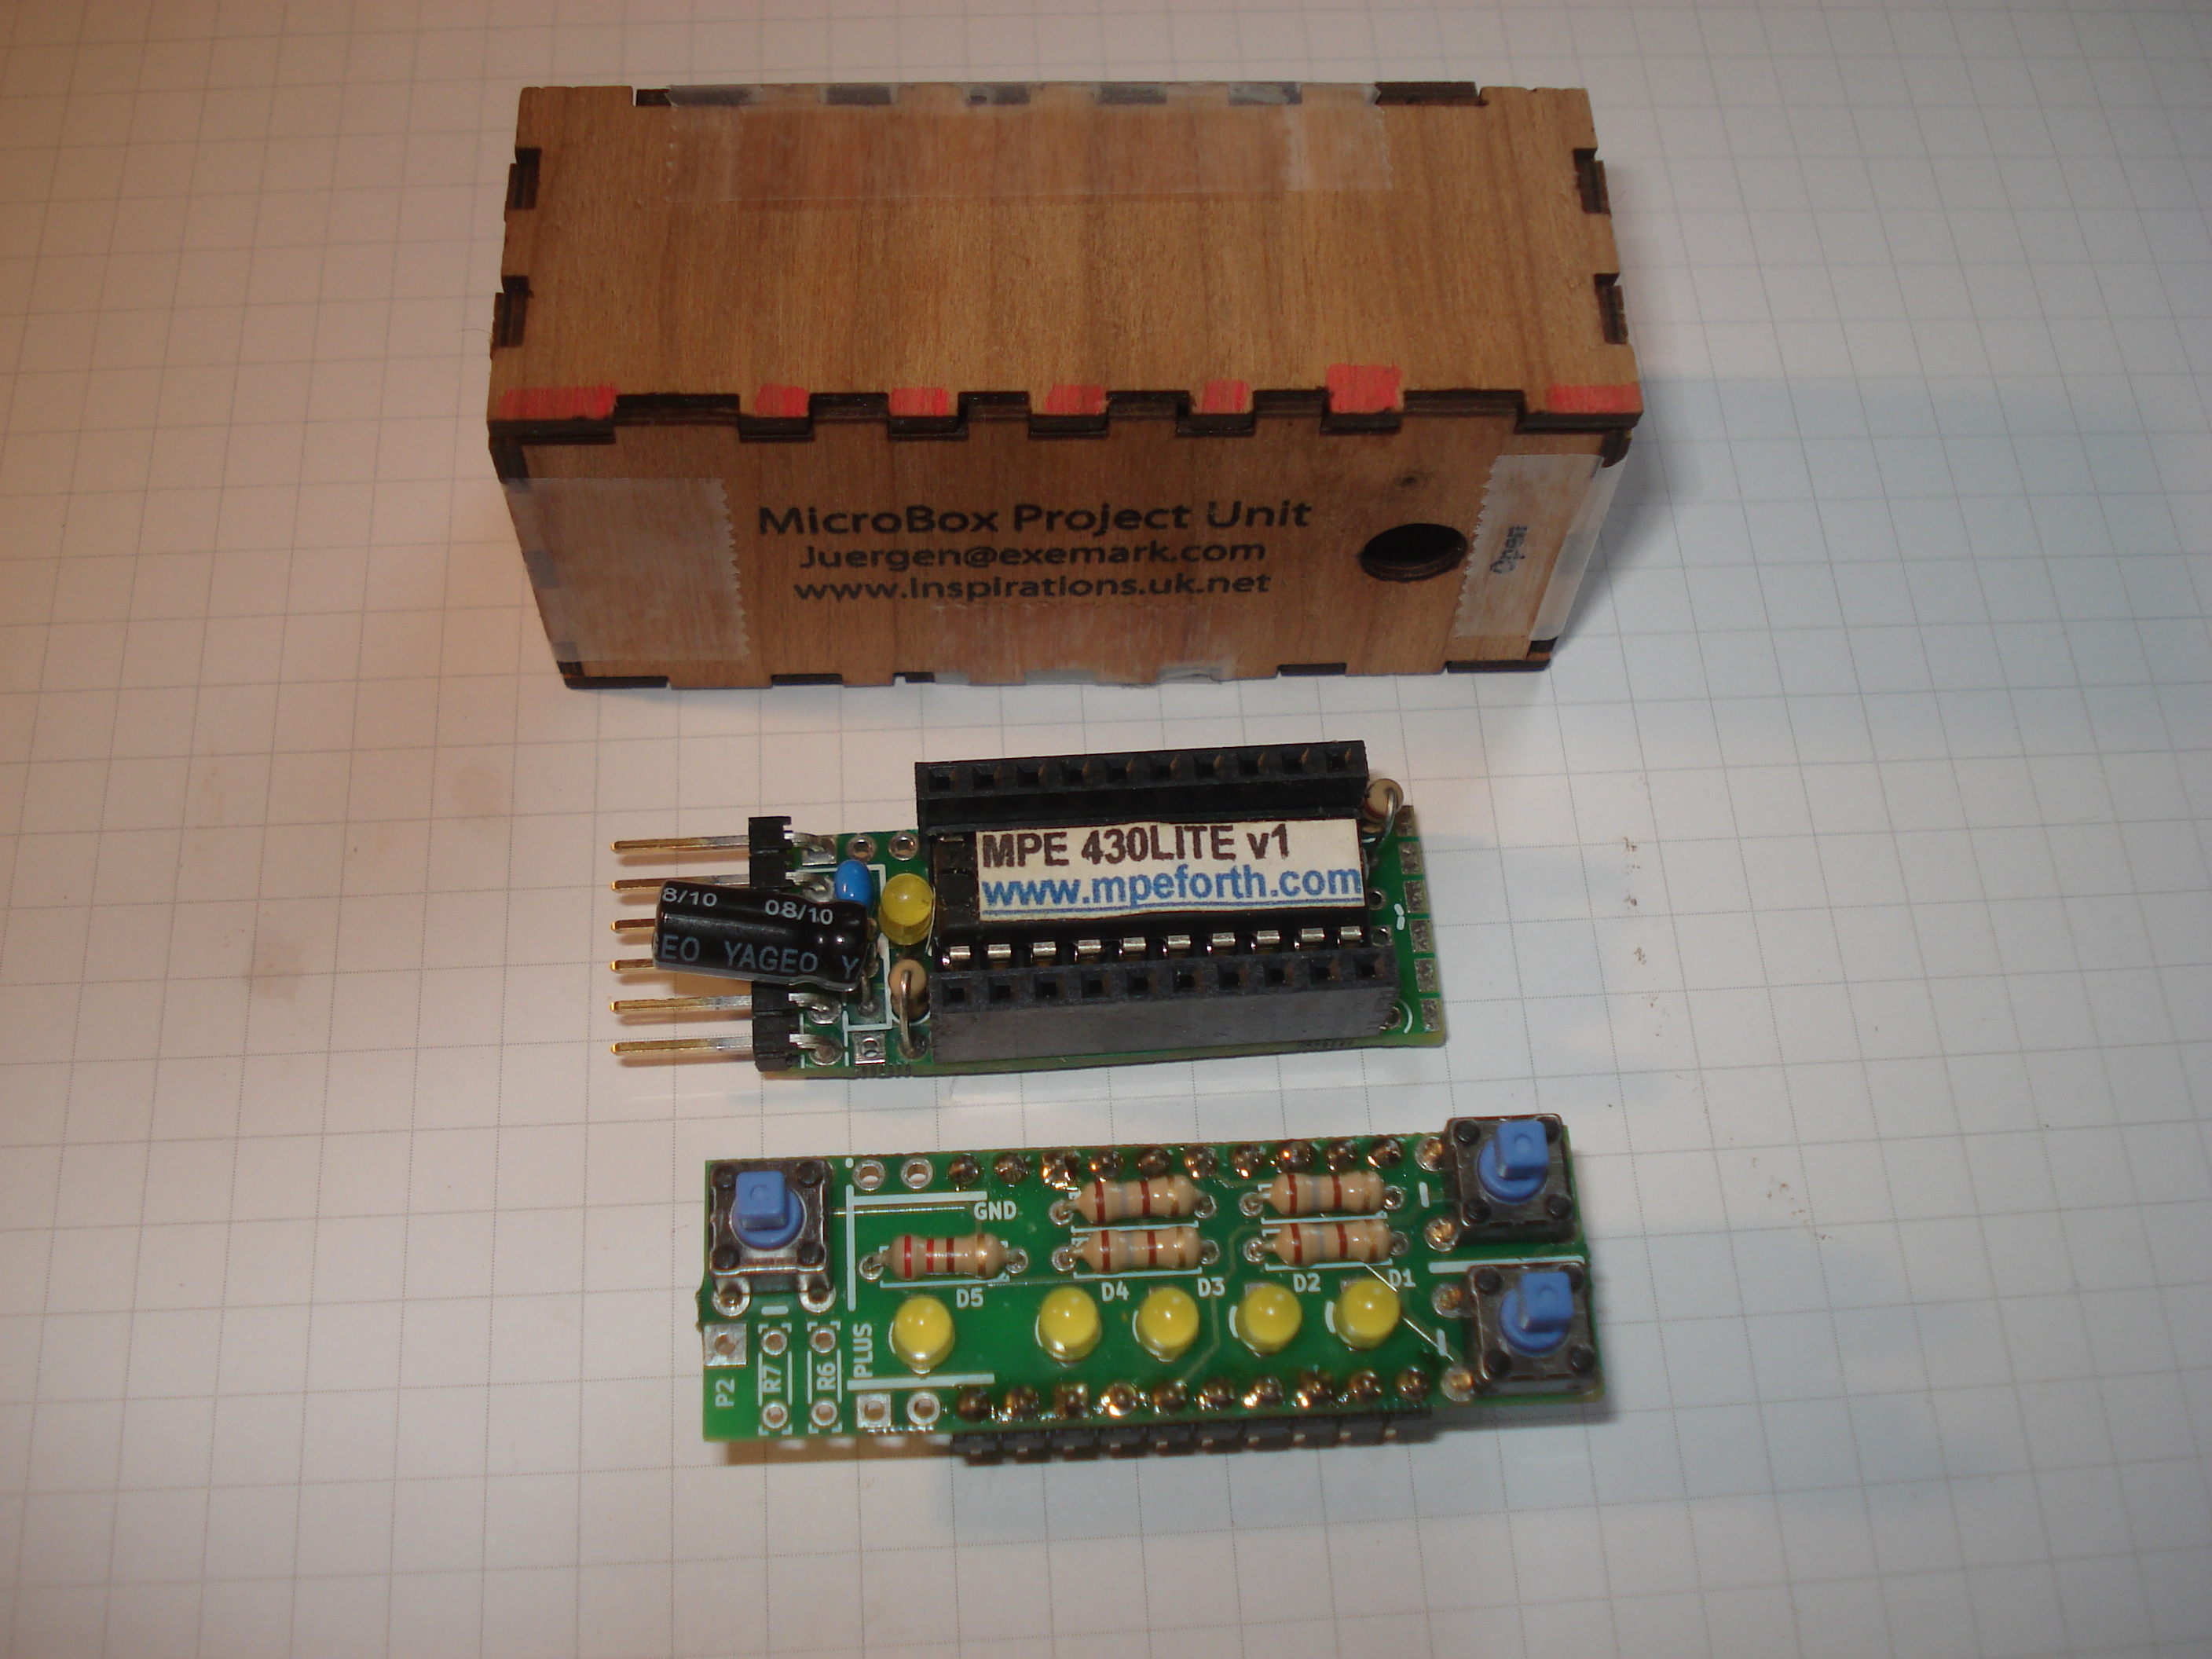
And Juergen’s prototypes on the left and the final product on the right: “Keyboard and Display Unit” as shield and “MSP430 Controller Board”.
For more, see project Microbox.
Myco Handling Instructions
Version 0.9.1 4e4th Version 2015_04_04
Switching on Power or Reset starts MyCo program. The 4 LEDs at OUT will flash. The indicator LED (PWM LED) is switched off. Idle State - MyCo is ready and waiting for an input either via S1 / S2 or via the keyboard. S1 - Switch pressed - MyCo program starts S2 - Switch pressed - MyCo switches ino Programming Mode – no connection to thePC required 'q' - Entered on Terminal - 4e4th Forth starts (Only works if keyboard is connected / MyCo in dle State) - To Run a Program already intalled- In Idle State press S1. MyCo will then enters the Program Run Mode. MyCo programs always start at page 0 address $00. To terminate a running MyCo program: press S1 or S2 key - or any key on the keyboard.
- Show the Program Flow -
A)-using the 4 LEDs — To view the program steps from the outside, a MyCo program has to make outputs to the 4 LEDs, otherwise nothing is visible. Additional LED test output instructions can be added for debugging. Later replaced by NOPs. Extensions: Use a volt meter to check the levels at IN and OUT and to watch – or a multimeter or an oscilloscope.B) Using Forth and the Serial Interface—
Using the additional options The MyCo Program runs using the Interactive Programming Language Forth. There are 3 additional services provided in this mode in order to test the program flow step by step. Using the space bar on the keyboard, you step through the whole program. The staus of all registers and other IO are shown:
LOG writes the MyCo program sequence step by step. Press the space bar to step through the whole program. The register contents and the state at Input Port and at Output Port will be displayed.
STEP displays the entire contents of the MyCo memory in one go. Here as well, step through the whole program by pressing the space bar. Registers and Ports are displayed step by step.
So you see exactly at which point of the program you are and which activity has been executed (single stepping).
RUN starts the MyCo Program in Flash memory. In this way the effects on periphery can be seen. Pressing any key on the keyboard stops the MyCo program execution, and you come back to the Forth Operating System level.
- Programming - Press S2 when in Idle State. MyCo status changes into the Programming Mode. Programming of a MyCo program is done code block by block (page), then each block byte by byte, and each byte nibble by nibble. To start, first the target page must be selected that will be processed.
- Select Page - Indicator LED flashes 3 times. Using S1, one of 8 pages can be selected. Default page is page-0. Continue using S2.
- Select Bytes - By repeatedly pressing S2 one program byte after the other can be displayed. In This way all bytes of the selected page can be inspected, contents will be shown via the 4 LEDs. Here each byte is shown in three steps. View Memory Contents - Press S2 repeatedly Step Indicator LED (PWM) Description of 4 LED display 1 2x flashing in medium bright byte address within the page 2 from off → to bright high nibble 3 from off→ to dim low nibble
The Read/Modify Modus starts at byte address zero, so the 4 LEDs are thus first all switched off. Press S2 and the Hi-nibble of the byte is displayed.
S2 again, and the Lo nibble is displayed.
Press again S2, and MyCo begins another 3-step display, now at byte address +1
After 16 bytes the procedure starts again at byte 0, MyCo stays on same page (wrap around). - Edit a Nibble - In Step2 or Step3 the contents of a nibble can increment by pressing S1. After $F the value is back to zero. You can step through the value as often as needed. End of nibble change input with S2.
- Select Byte Start Address – If in step_1 button S2 is kept pressed, MyCo jumps into Start Address Select. Indicator LED flashes 1x, LEDs show the current byte address, incremented via S1. If new address set, S2 changes mode back to 3 step display from the new adddress.
- End Editing and Transfer and Program into FLASH Memory - Press both buttons, S2 + S1 simultaneously; Back to IDLE Mode, 4 LEDs flash, at the same time edited page is written back to Flash memory.
Updated 20210326
More to come
